


3D Printed Raspberry Pi 5 Case
₵55.00
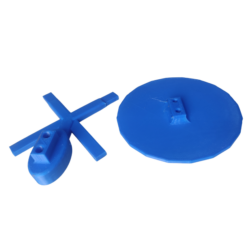
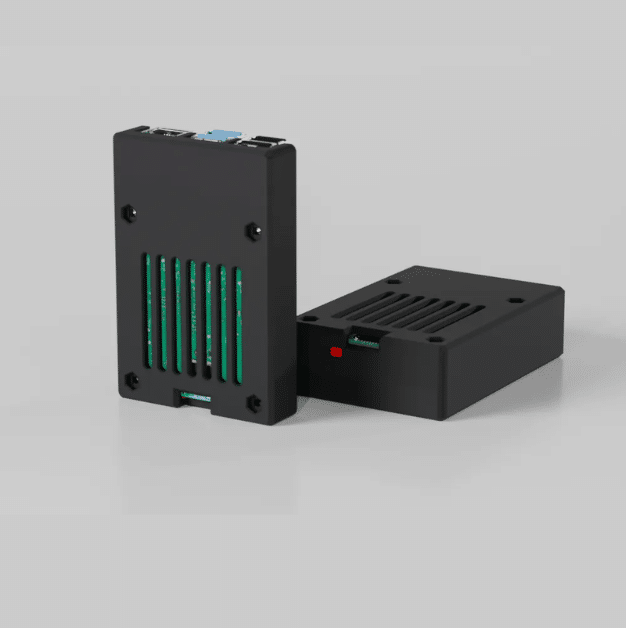
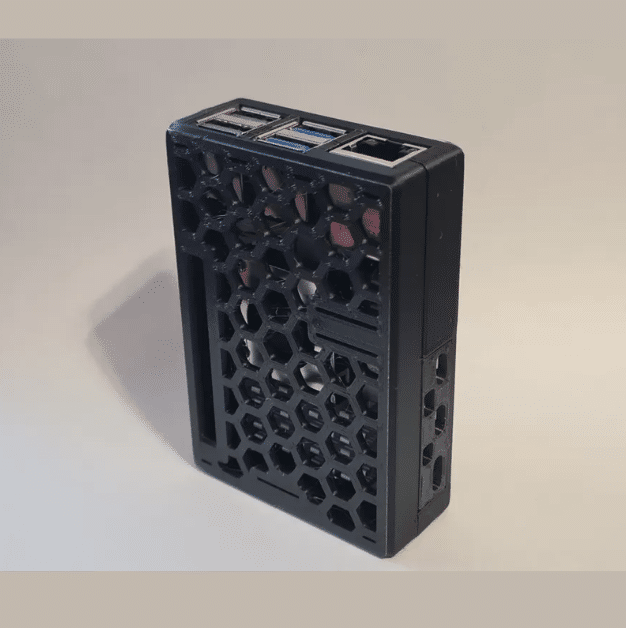
A clean and simple Raspberry Pi 5 Case. Has slots for all the ribbon cables and headers that the Pi 5 offers as well as a power button at the back. The two parts of the case snap together and can be release by pushing in the front sides and lifting up. This case was designed in OnShape.
97 in stock
A clean and simple Raspberry Pi 5 Case. Has slots for all the ribbon cables and headers that the Pi 5 offers as well as a power button at the back. The two parts of the case snap together and can be release by pushing in the front sides and lifting up. This case was designed in OnShape.
Requirements
- 4x M2.5 Bolts 4x M2.5 Nuts
- Raspberry Pi 5
- Heat sink and Fan (optional)
Configurations
There are 2 options for the bottom half, one to have bolts go from below to above (useful for some heat sinks / HATs) and one for bolting from above with the hex nut going into the bottom of the case. There is also a regular and thin side IO cover, I would recommend using the thin one as it will most likely create a better connection on the type c with most cables.
Assembly
- Before starting, remove the SD card from the pi.
- Insert the power button to the case
- Line up the side IO cover with the IO on the pi and insert
- Then insert the pi into the bottom half of the case ensuring that the IO cover slots into place.
- Add bolts and nuts where necessary to hold the pi into the case.
- If using HATs or DSI cables attach them now.
- Line up the back clip of the top half with the slot in the bottom half and insert.
- Apply some pressure downwards to the front and push inwards the sides on the marked points, the top piece should clip into place.
- To remove the top piece, push inwards on marked parts on the sides of the top piece and pull upwards.
Related products